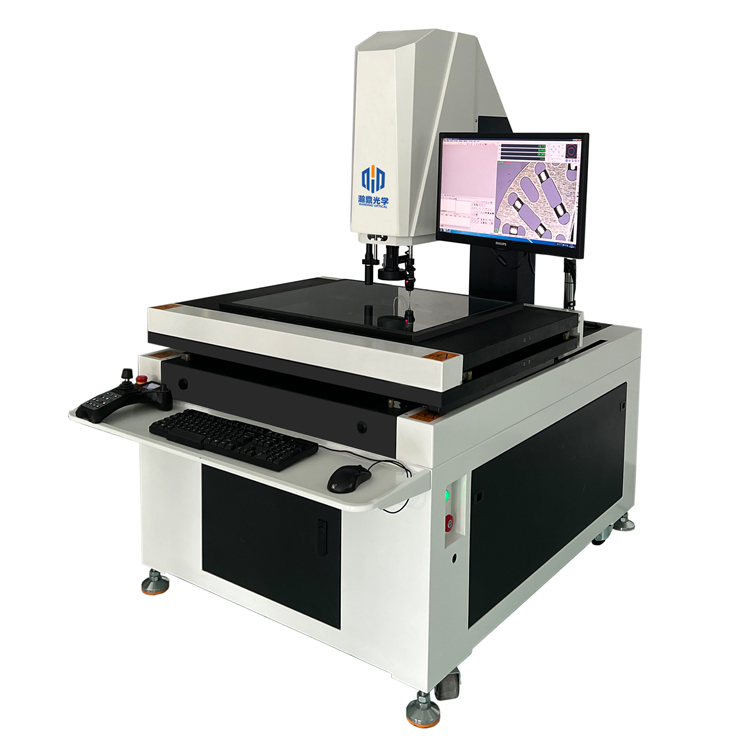
From the perspective of 2d measurement, there is an image measuring instrument, which is formed by combining optical projection and computer technology. It is produced on the basis of CCD digital image, relying on computer screen measurement technology and powerful software capabilities of spatial geometric calculation. And if it is from the perspective of three-dimensional space, it is a three-dimensional coordinate measuring instrument. Through the collection of spatial coordinate values, fitting them into measurement elements, and calculating data such as position tolerances through algorithms.
1. The principle of the machine is different
Image measurement is a high-precision optical measuring instrument composed of CCD, grating ruler and other components. It completes the measurement process based on machine vision technology and micron precise control. During the measurement, it will be transmitted to the data acquisition card of the computer through the USB and RS232 data lines, and the optical signal will be converted into an electrical signal, and then the image will be imaged on the computer monitor by the image measuring instrument software, and the operator will use the mouse to perform rapid measurement on the computer .
Three-coordinate measuring machine. The three-axis displacement measurement system calculates the coordinates (X, Y, Z) of each point of the workpiece and the Instruments for functional measurement.

2. Different functions
The two-dimensional measuring instrument is mainly used in the field of two-dimensional plane measurement, such as some machinery, electronics, hardware and other industries. Those with a measuring head can measure some simple shape and position tolerances, such as flatness, verticality, etc.
The three-dimensional measuring instrument mainly focuses on three-dimensional measurement, and can measure the size, shape tolerance and free-form surface of mechanical parts with complex shapes.
Post time: Nov-22-2022


