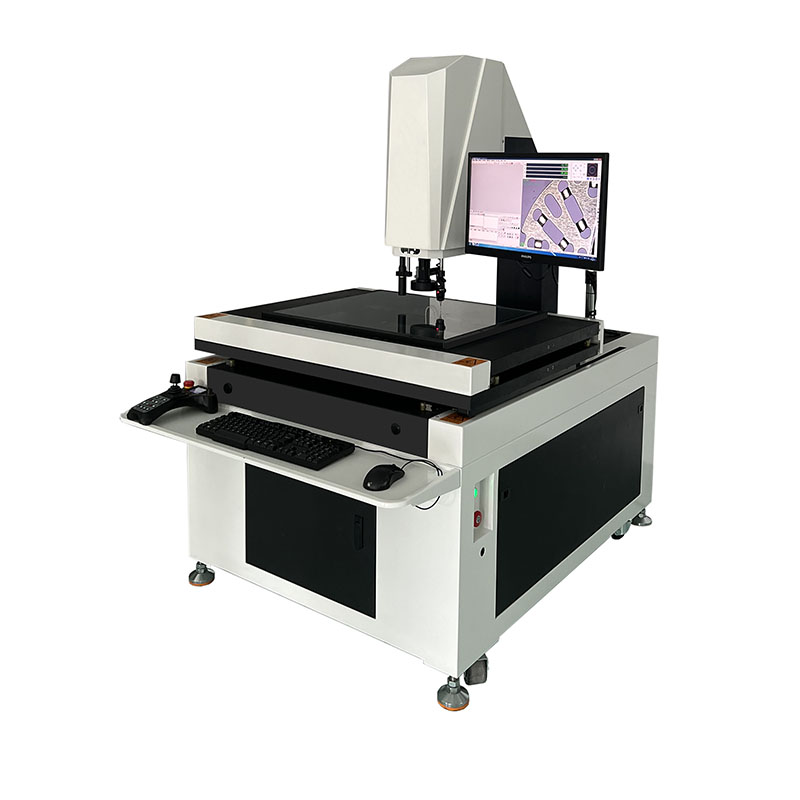
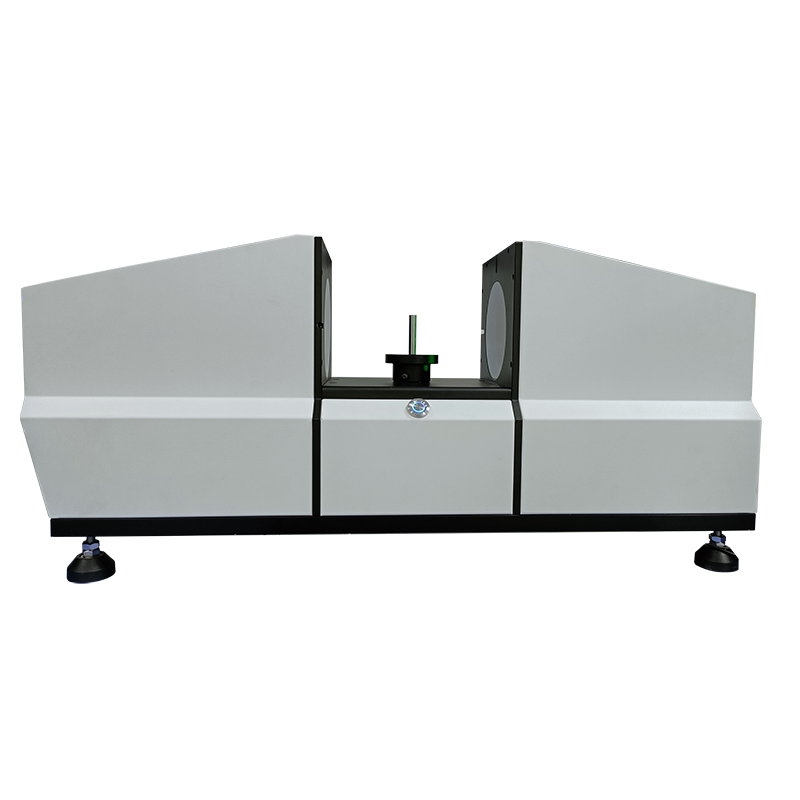
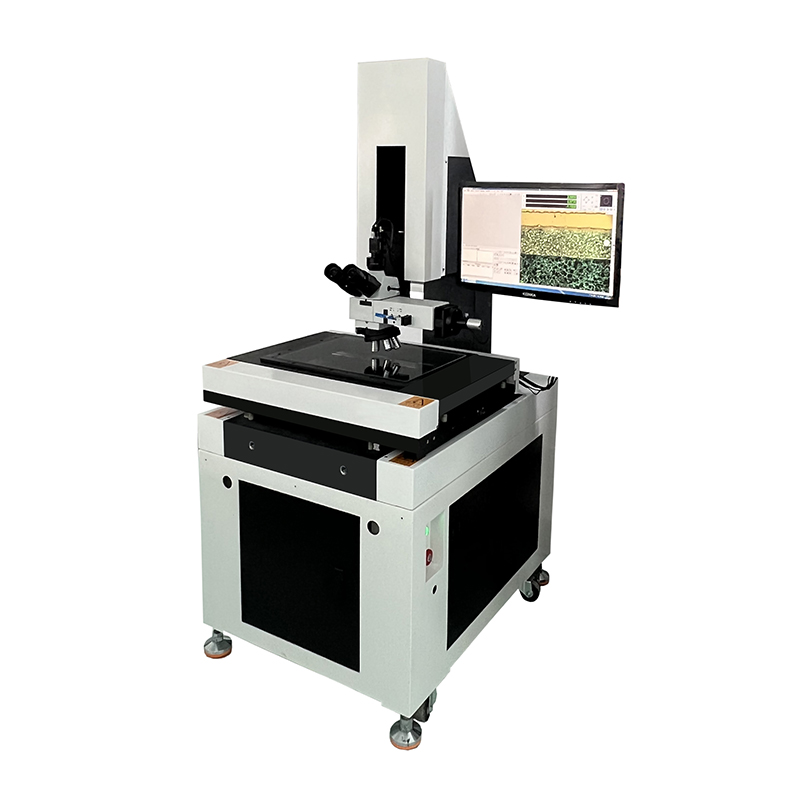
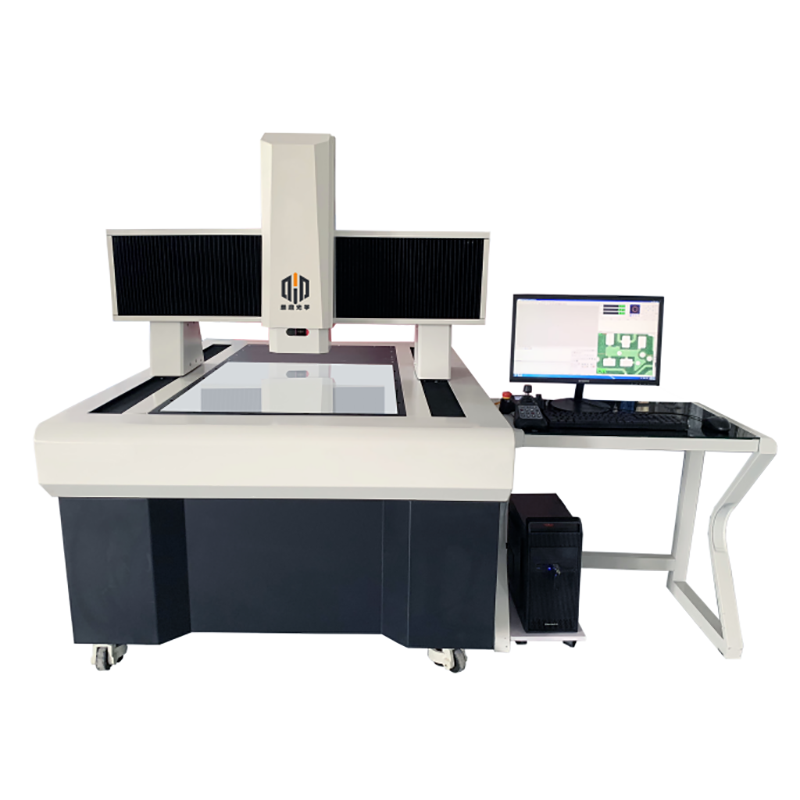
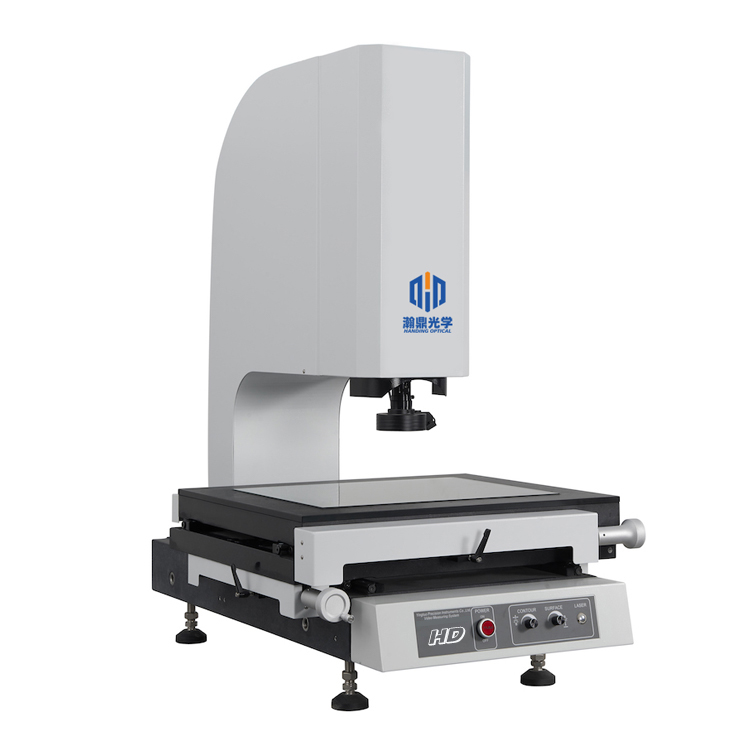
High definition Manual Video Measuring Machine With Probe - MYT serise Manual type 2D Video Measuring Machine – Handing
High definition Manual Video Measuring Machine With Probe - MYT serise Manual type 2D Video Measuring Machine – Handing Detail:
|
Model |
HD-2010M |
HD-3020M |
HD-4030M |
HD-5040M |
|||
|
X/Y/Z measurement stroke |
200×100╳200mm |
300×200╳200mm |
400×300╳200mm |
500×400╳200mm |
|||
|
Z axis stroke |
Effective space: 200mm, working distance: 90mm |
||||||
|
XYZ axis base |
Grade 00 green marble |
||||||
|
Machine base |
Grade 00 green marble |
||||||
|
Size of glass countertop |
250×150mm |
350×250mm |
450×350mm |
550×450mm |
|||
|
Size of marble countertop |
360mm×260mm |
460mm×360mm |
560mm×460mm |
660mm×560mm |
|||
|
Bearing capacity of glass countertop |
25kg |
||||||
|
Transmission type |
High precision cross drive guide and polished rod |
||||||
|
Optical scale |
High precision optical scale resolution: 0.001mm |
||||||
|
X/Y linear measurement accuracy (μm) |
≤3+L/200 |
||||||
|
Repetition accuracy (μm) |
≤3 |
||||||
|
Camera |
1/3″ HD color industrial camera |
||||||
|
Lens |
Fixed zoom lens, optical magnification: 0.7X-4.5X, image magnification: 20X-128X |
||||||
|
Software function and Image system |
Image software: it can measure points, lines, circles, arcs, angles, distances, ellipses, rectangles, continuous curves, tilt corrections, plane corrections, and origin setting. The measurement results display the tolerance value, roundness, straightness, position and perpendicularity. The degree of parallelism can be directly exported and imported into Dxf, Word, Excel, and Spc files for editing which is suitable for batch testing for customer report programming. At the same time, part of and the entire product can be photographed and scanned, and the size and image of the entire product can be recorded and archived, then the dimensional error marked on the picture is clear at a glance. |
||||||
|
Image card: SDK2000 chip image transmission system, with clear image and stable transmission. |
|||||||
|
Illumination system |
Continuously adjustable LED light (Surface illumination +contour illumination), with lower heating value and long service life |
||||||
|
Overall dimension(L*W*H) |
1000×600×1450mm |
1100×700×1650mm |
1350×900×1650mm |
1600×1100×1650mm |
|||
|
Weight(kg) |
100kg |
150kg |
200kg |
250kg |
|||
|
Power supply |
AC220V/50HZ AC110V/60HZ |
||||||
|
Computer |
Customized computer host |
||||||
|
Display |
21 inches |
||||||
|
Warranty |
1 year warranty for the whole machine |
||||||
|
Switching power supply |
Mingwei MW 12V |
||||||
① Temperature and humidity
Temperature: 20-25℃, optimal temperature: 22℃; relative humidity: 50%-60%, optimal relative humidity: 55%; Maximum temperature change rate in the machine room: 10℃/h; It is recommended to use a humidifier in dry area, and use a dehumidifier in humid area.
② Heat calculation in the workshop
·Keep the machine system in the workshop operating in the optimum temperature and humidity, and the total indoor heat dissipation must be calculated, including the total heat dissipation of indoor equipment and instruments (lights and general lighting can be ignored)
·Heat dissipation of human body: 600BTY/h/person
·Heat dissipation of workshop: 5/m2
·Instrument placement space (L*W*H): 2M ╳ 2M ╳ 1.5M
③ Dust content of air
The machine room shall be kept clean, and the impurities greater than 0.5MLXPOV in the air shall not exceed 45000 per cubic foot. If there is too much dust in the air, it is easy to cause resource read and write errors and damage to the disk or read-write heads in the disk drive.
④ Vibration degree of machine room
The vibration degree of machine room shall not exceed 0.5T. Machines that vibrate in the machine room shall not be placed together, because the vibration will loosen the mechanical parts, joints and contact parts of the host panel, resulting in abnormal operation of the machine.
Product detail pictures:


Related Product Guide:
We believe in: Innovation is our soul and spirit. High-quality is our life. Consumer need to have is our God for High definition Manual Video Measuring Machine With Probe - MYT serise Manual type 2D Video Measuring Machine – Handing , The product will supply to all over the world, such as: Cambodia, New Zealand, Madagascar, We focus on providing service for our clients as a key element in strengthening our long-term relationships. Our continual availability of high grade products in combination with our excellent pre-sale and after-sales service ensures strong competitiveness in an increasingly globalized market.
The customer service staff's answer is very meticulous, important is that the product quality is very good, and packaged carefully, shipped quickly!
Products categories
-

Phone
-

E-mail
-

Whatsapp
whatsapp

-

WeChat

-

Top

