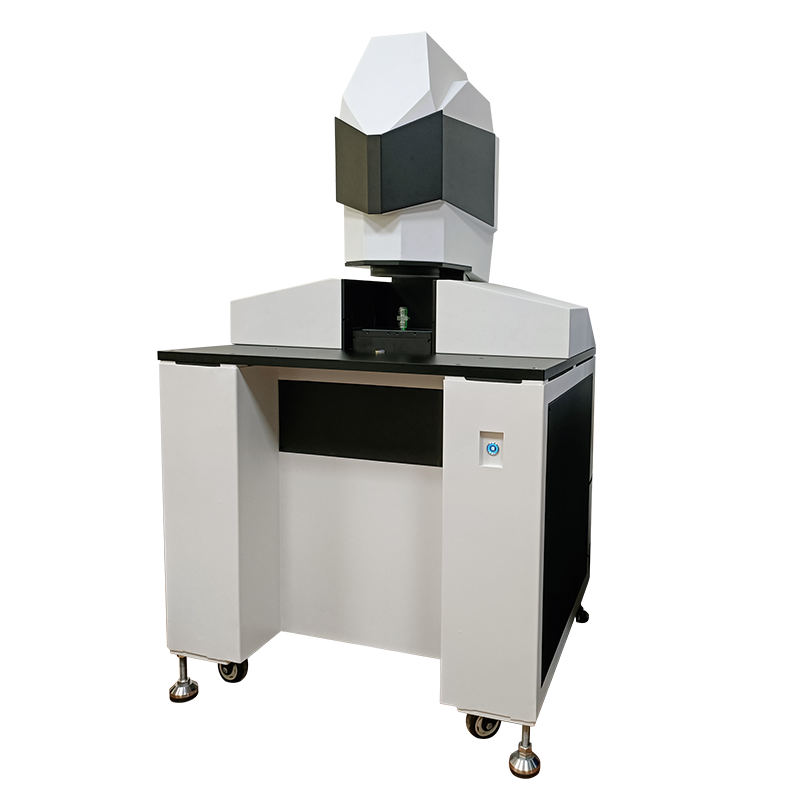
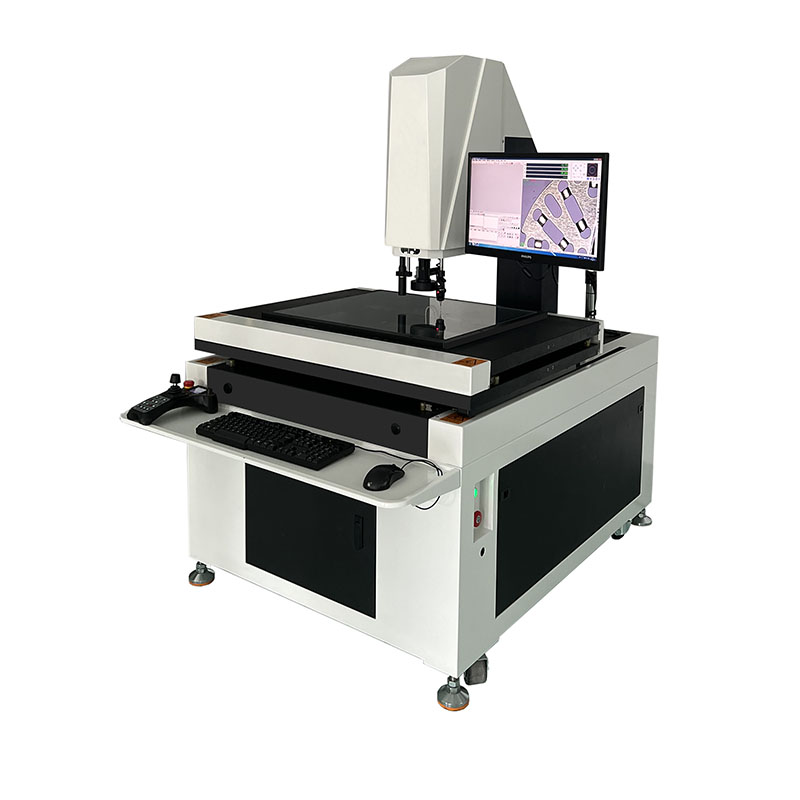
China Cheap price Optical Measuring Machine - Automatic vision measuring machine with metallographic systems – Handing
China Cheap price Optical Measuring Machine - Automatic vision measuring machine with metallographic systems – Handing Detail:
|
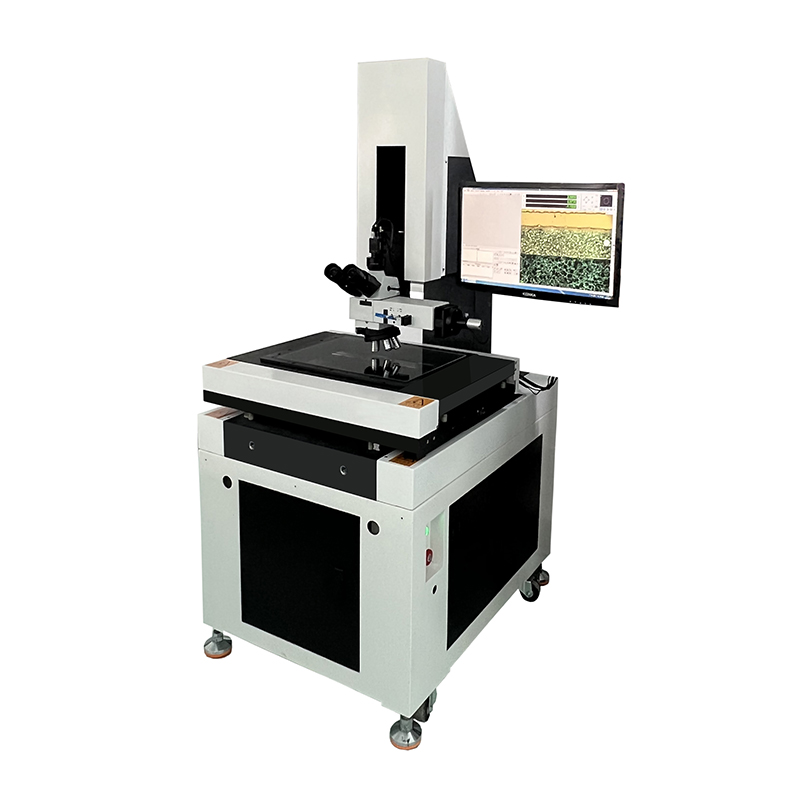
Model |
HD-542MS |
|
X/Y/Z measurement stroke |
500×400×200mm |
|
Z axis stroke |
Effective space: 200mm, working distance: 45mm |
|
XY axis platform |
X/Y mobile platform:Grade 00 cyan marble; Z axis column: cyan marble |
|
Machine base |
Grade 00 cyan marble |
|
Size of glass countertop |
580×480mm |
|
Size of marble countertop |
660×560mm |
|
Bearing capacity of glass countertop |
30kg |
|
Transmission type |
X/Y/Z axis: Hiwin P-grade linear guides and C5-grade ground ball screw |
|
Optical scale |
0.0005mm |
|
X/Y linear measurement accuracy (μm) |
≤3+L/200 |
|
Repetition accuracy (μm) |
≤3 |
|
Motor |
HCFA high performance double closed loop CNC servo system |
| X axis uses a HCFA 400W servo motor with double closed loop control system | |
| Y axis uses a HCFA 750W servo motor with double closed loop control system | |
| Z axis uses a HCFA 200W servo motor with braking function | |
|
Camera |
4K Ultra HD Digital Camera |
|
Observation method |
Brightfield, oblique illumination, polarized light, DIC, transmitted light |
|
Optical system |
Infinity Chromatic Aberration Optical System Metallurgical objective lens 5X/10X/20X/50X/100X optional Image magnification 200X-2000X |
|
Eyepieces |
PL10X/22 Plan High Eyepoint Eyepieces |
|
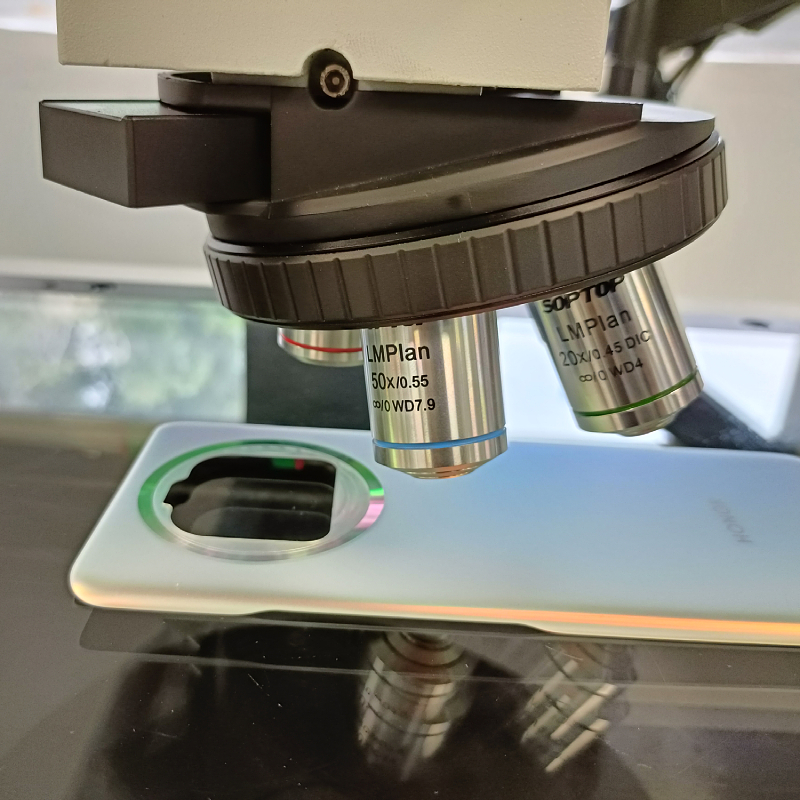
Objectives |
LMPL infinity long working distance metallographic objective |
|
Viewing Tube |
30° hinged trinocular, binocular: trinocular = 100:0 or 50:50 |
|
Converter |
5-Hole Tilt Converter with DIC Slot |
|
The body of the metallographic system |
Coaxial coarse and fine adjustment, coarse adjustment stroke 33mm, fine adjustment accuracy 0.001mm, With coarse adjustment mechanism upper limit and elastic adjustment device, Built-in 90-240V wide voltage transformer, dual power output. |
|
Reflective lighting systems |
With variable market diaphragm and aperture diaphragm and color filter slot and polarizer slot, With oblique lighting switch lever, single 5W high-power white LED and continuously adjustable brightness |
|
Projection lighting systems |
With variable market diaphragm, aperture diaphragm, color filter slot and polarizer slot, With oblique lighting switch lever, single 5W high-power white LED and continuously adjustable brightness. |
|
Overall dimension(L*W*H) |
1300×830×1800mm |
|
Weight |
400kg |
|
Power supply |
AC220V/50HZ AC110V/60HZ |
|
Computer |
Intel i5+8g+512g |
|
Display |
Philips 27 inches |
|
Warranty |
1 year warranty for the whole machine |
|
Switching power supply |
Mingwei MW 12V/24V |
1.With manual focus, the magnification can be switched continuously.
2.Complete geometric measurement (multi-point measurement for points, lines, circles, arcs, rectangles, grooves, measurement accuracy improvement, etc.).
3.The automatic edge finding function of image and a series of powerful image measurement tools simplify the measurement process and make the measurement easier and more efficient.
4.Support powerful measurement, convenient and quick pixel construction function, users can construct points, lines, circles, arcs, rectangles, grooves, distances, intersections, angles, midpoints, midlines, verticals, parallels and widths by simply clicking on graphics.
5.The measured pixels can be translated, copied, rotated, arrayed, mirrored, and used for other functions. The time for programming can be shortened in case of a large number of measurements.
6.The image data of measurement history can be saved as a SIF file. In order to avoid differences in the measurement results of different users at different times, the position and method of each measurement for different batches of objects shall be the same.
7.The report files can be output according to your own format, and the measurement data of the same workpiece can be classified and saved according to the measurement time.
8.Pixels with measurement failure or out of tolerance can be separately re-measured.
9.The diversified coordinate system setting methods, including the coordinate translation and rotation, redefinition of a new coordinate system, modification of coordinate origin and coordinate alignment, make the measurement more convenient.
10.The shape and position tolerance, tolerance output and discrimination function can be set, which can alarm the unqualified size in the form of color, label, etc., allowing users to judge data more quickly.
11.With 3D view and visual port switching function of working platform.
12.Images can be output as JPEG file.
13.The pixel label function allows users to find measurement pixels more quickly and conveniently when measuring a large number of pixels.
14.The batch pixel processing can select the required pixels and quickly execute the program teaching, history resetting, pixels fitting, data exporting and other functions.
15.Diversified display modes: Language switching, metric/inch unit switching (mm/inch), angle conversion (degrees/minutes/seconds), setting of decimal point of displayed numbers, coordinate system switching, etc.
16.The software is seamlessly connected with EXCEL, and the measurement data has the functions of graphic printing, data details and preview. Data reports can not only be printed and exported to Excel for statistical analysis, but also exported according to the requirements of customer format report correspondingly.
17.The synchronous operation of reverse engineering function and CAD can realize the conversion between software and AutoCAD engineering drawing, and directly judge the error between the workpiece and engineering drawing.
18.Personalized editing in the drawing area: point, line, circle, arc, delete, cut, extend, chamfered angle, circle tangent point, find the center of the circle through two lines and radius, delete, cut, extend, UNDO/REDO. Dimension annotations, simple CAD drawing functions and modifications can be directly done in the overview area.
19.With humanized file management, it can save the measurement data as Excel, Word, AutoCAD and TXT files. Moreover, the measurement results can be imported into professional CAD software in DXF and directly used for development and design.
20.The output report format of pixel elements (such as center coordinates, distance, radius etc.) can be customized in the software.
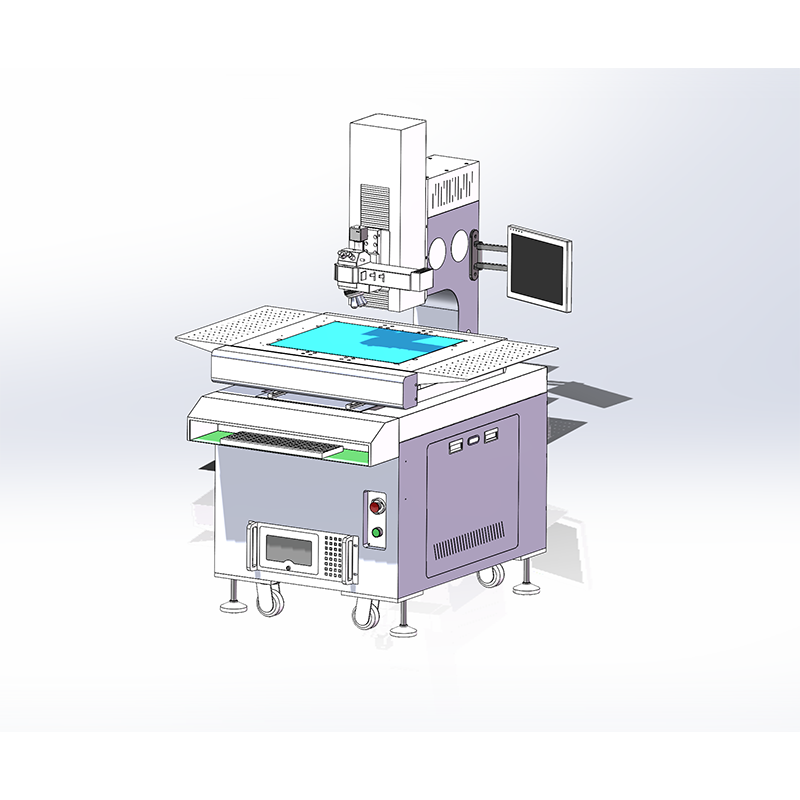
① Temperature and humidity
Temperature: 20-25℃, optimal temperature: 22℃; relative humidity: 50%-60%, optimal relative humidity: 55%; Maximum temperature change rate in the machine room: 10℃/h; It is recommended to use a humidifier in dry area, and use a dehumidifier in humid area.
② Heat calculation in the workshop
·Keep the machine system in the workshop operating in the optimum temperature and humidity, and the total indoor heat dissipation must be calculated, including the total heat dissipation of indoor equipment and instruments (lights and general lighting can be ignored)
·Heat dissipation of human body: 600BTY/h/person
·Heat dissipation of workshop: 5/m2
·Instrument placement space (L*W*H): 3M ╳ 3M ╳ 2.5M
③ Dust content of air
The machine room shall be kept clean, and the impurities greater than 0.5MLXPOV in the air shall not exceed 45000 per cubic foot. If there is too much dust in the air, it is easy to cause resource read and write errors and damage to the disk or read-write heads in the disk drive.
④ Vibration degree of machine room
The vibration degree of machine room shall not exceed 0.5T. Machines that vibrate in the machine room shall not be placed together, because the vibration will loosen the mechanical parts, joints and contact parts of the host panel, resulting in abnormal operation of the machine.
Product detail pictures:

Related Product Guide:
We usually think and practice corresponding for the change of circumstance, and grow up. We aim at the achievement of a richer mind and body as well as the living for China Cheap price Optical Measuring Machine - Automatic vision measuring machine with metallographic systems – Handing , The product will supply to all over the world, such as: Cairo, Vancouver, St. Petersburg, Our company offers the full range from pre-sales to after-sales service, from product development to audit the use of maintenance, based on strong technical strength, superior product performance, reasonable prices and perfect service, we'll continue to develop, to supply the high-quality goods and services, and promote lasting cooperation with our customers, common development and create a better future.
The company's products very well, we have purchased and cooperated many times, fair price and assured quality, in short, this is a trustworthy company!
Products categories
-

Phone
-

E-mail
-

Whatsapp
whatsapp

-

WeChat

-

Top

